
Grayson's T-Shirt Quilt
First, I have to say that I am NOT a seamstress. I had a sewing class in high school and another about 6 years ago right before I made Levi’s quilt- (I was the oldest and only non-Mennonite person in the room). That little bit of experience certainly doesn’t make me an expert. However, I am a mother who has been saving travel and athletic tees for 18 years so that I could make memory quilts for my boys, so I was committed to learning and determined to figure it out. I also don’t like to waste money, so knowing that I would eventually re-purpose the shirts justified the cost of all those overpriced vacation souvenirs. Of course, you can easily send your t-shirts away to have a quilt made in a jiffy, but I wanted my kids to know that I made it with my own hands and that it is special and just for them.

Levi’s quilt circa 2013. (Elementary side)
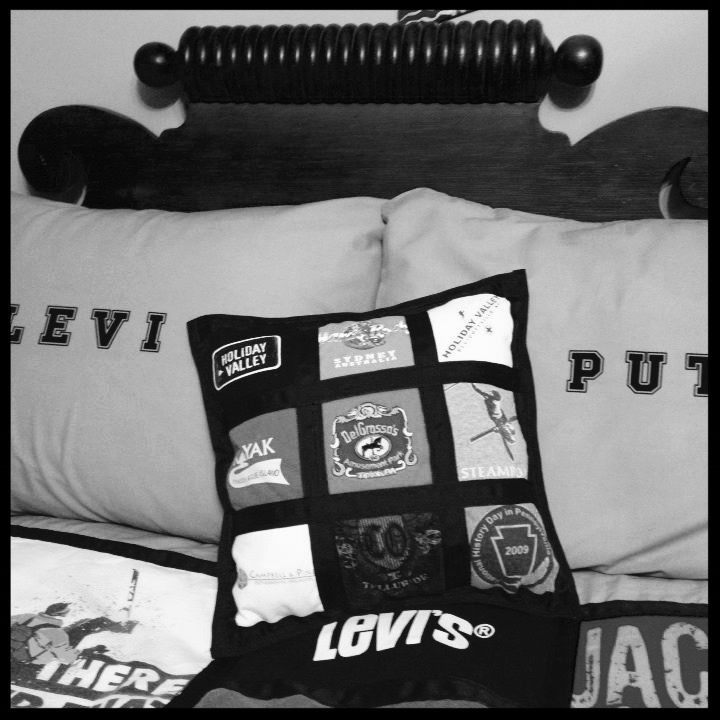
Levi’s Pillow.

Levi’s quilt (high school side).
Thankfully, there’s no shortage of t-shirt quilt tutorials online and I researched a few, but we prefer thick down covers, so I set out to make a duvet “quilt.” The duvet is much lighter (and easier) than a traditional quilt. This also gives you two sides --- one for the elementary school years, and one for the high-school years. I could’ve never gotten 70 tee shirts on one side of a quilt! There weren’t any tutorials for a duvet specifically so I had to figure it out as I went along. Friends started asking me how I made it, so I decided to write this brief post. I would recommend reading a few tutorials and then choosing whatever combination works for you. Don’t worry about it being perfect. You can do whatever you want. It’s your quilt!
BEFORE YOU BEGIN, GATHER THESE ESSENTIAL MATERIALS: New sharp scissors. Sharpie. Ruler. A 13” X 13” cardboard template (you can make this whatever size you wish, just leave extra room for the seams.) A cutting mat (and a rotary cutter if you’re fancy). T-shirts. Low-residue painters tape or pins. Patience. A great sewing machine. Thread. Iron. Black grosgrain ribbon 7/8” or 1” wide (I used about 10 rolls). Pellon 911FF fusible featherweight interfacing (enough to cover the number of t-shirts you have. I bought an entire bolt). I purchased all of my supplies at JoAnne Fabrics. You will need a nice workspace. The dining room table works great! 2 twin sheets (or whatever size you wish)(any color, I used gray), a zipper or buttons to make the sheets into a duvet at the end. (or you can purchase a duvet cover and simply sew the squares onto it, but it is bulky and difficult to maneuver). Pillowcase(s).
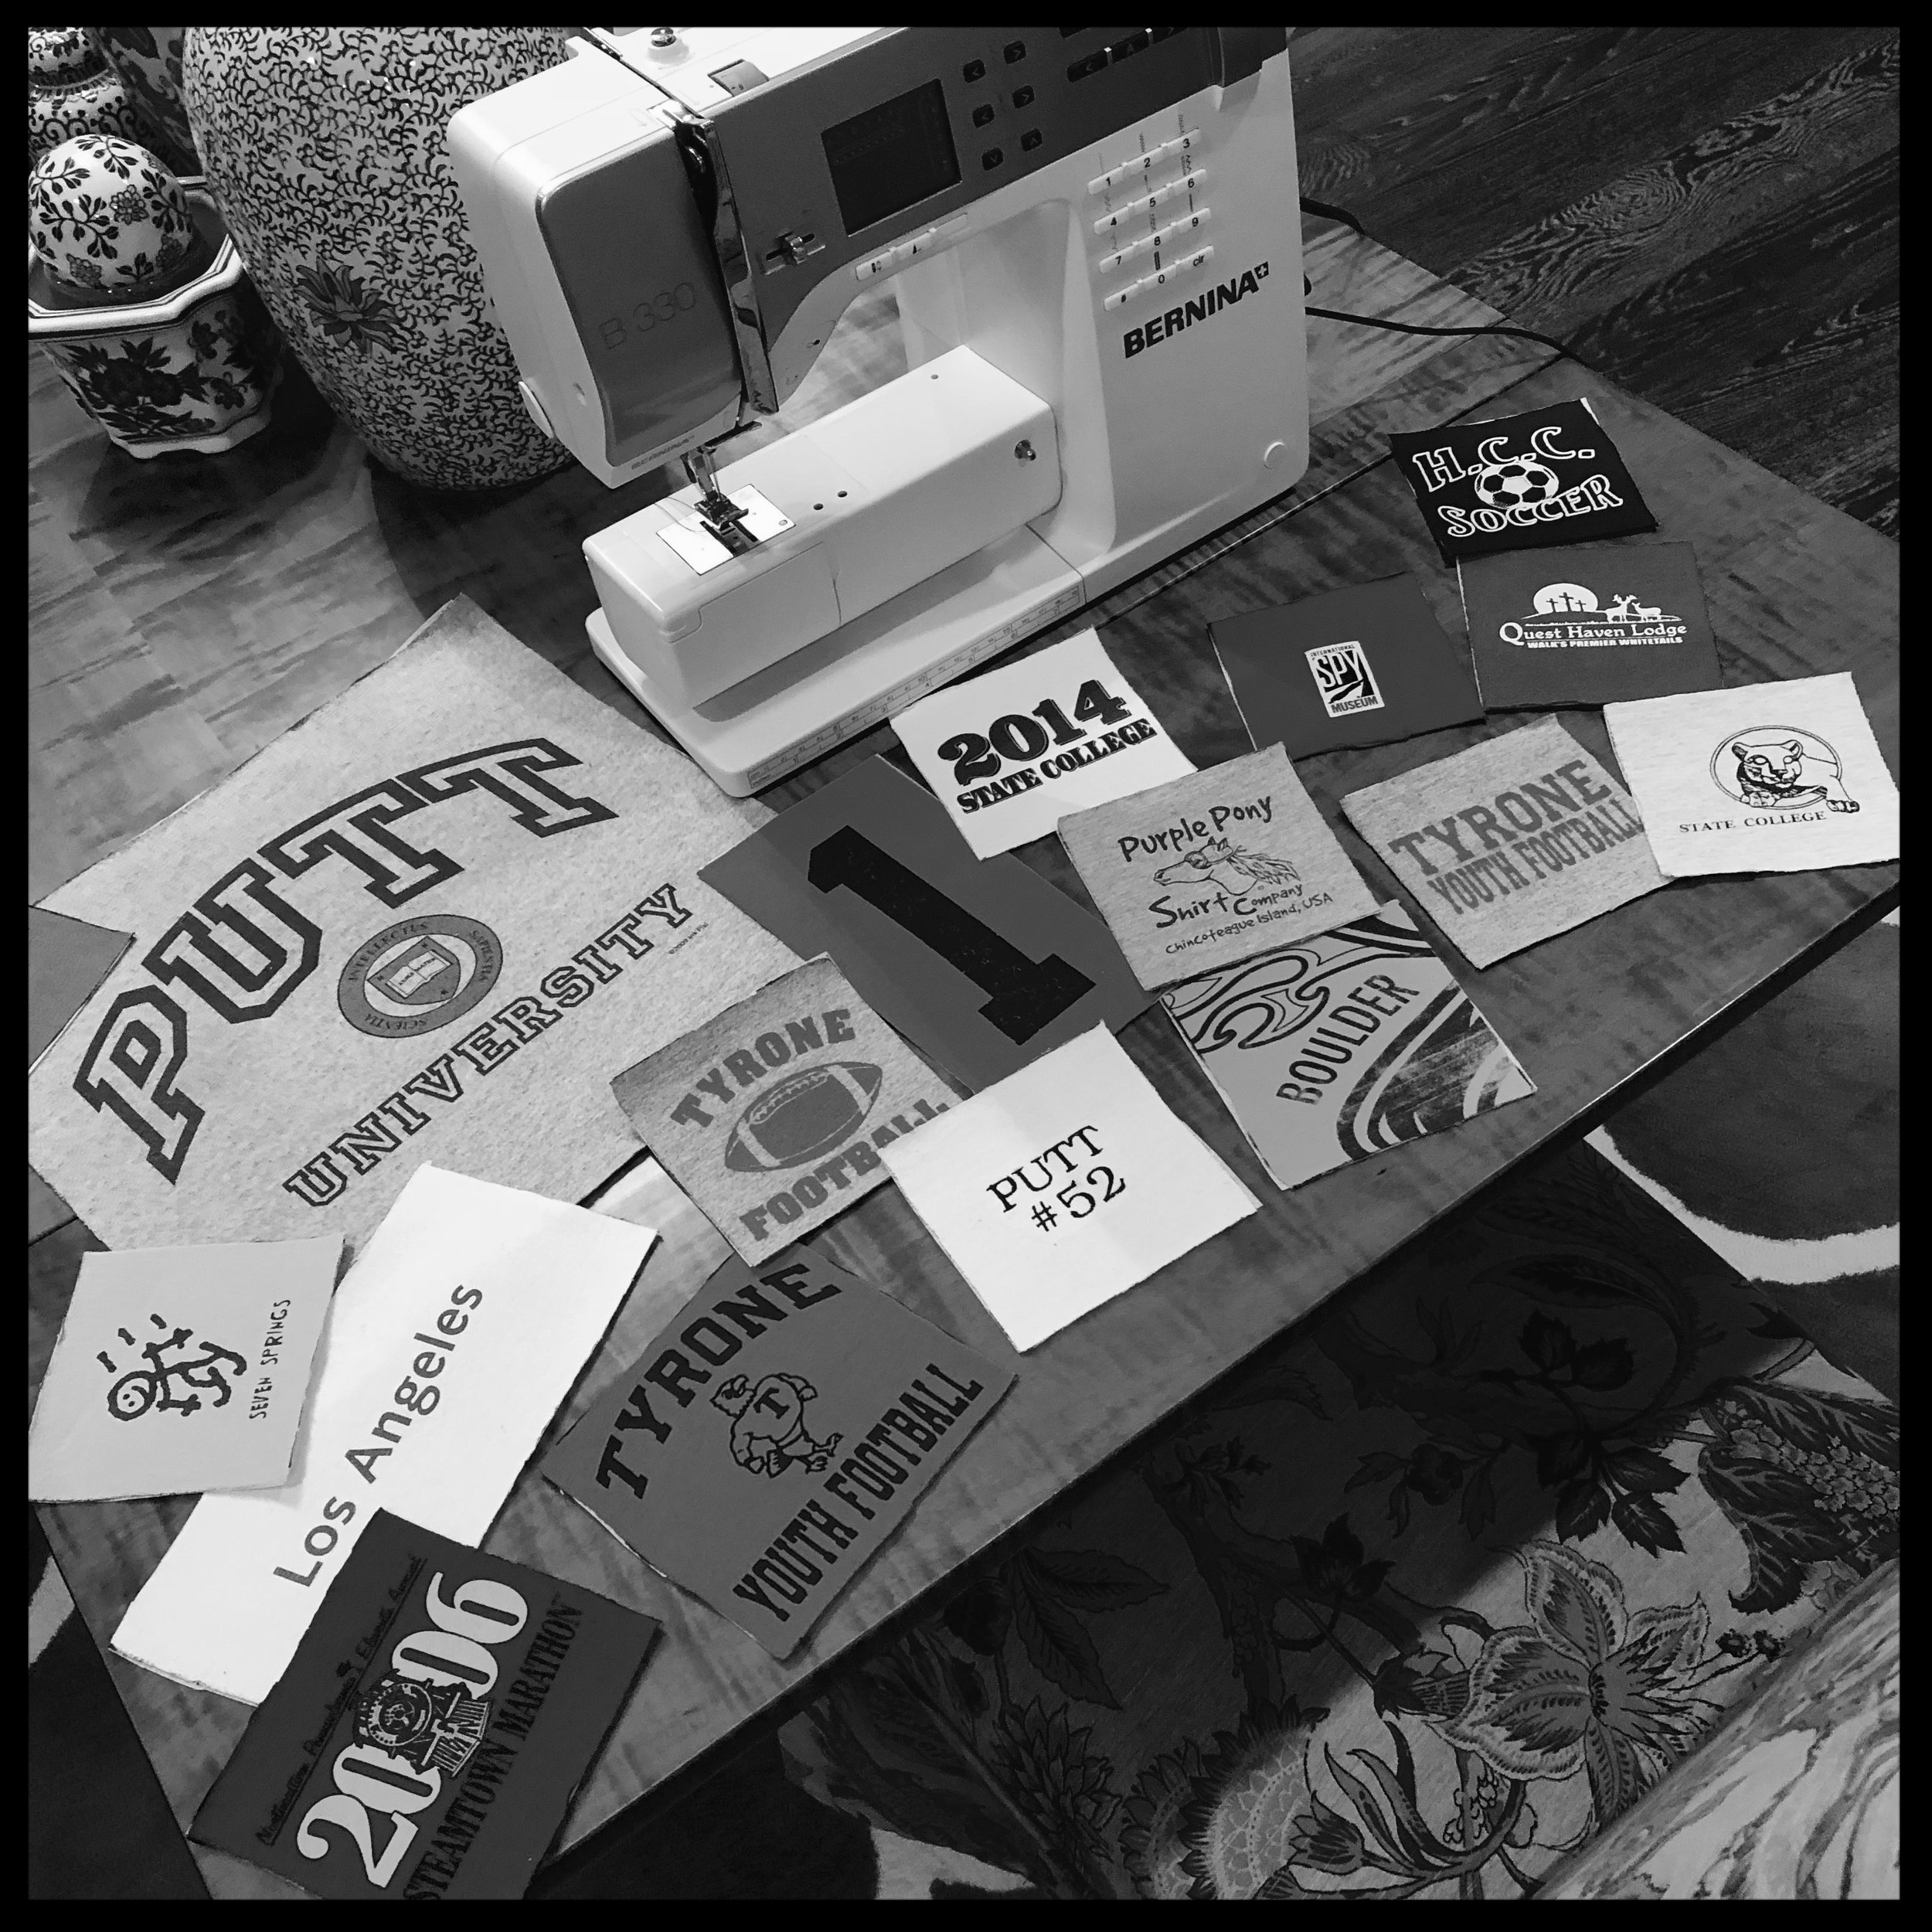
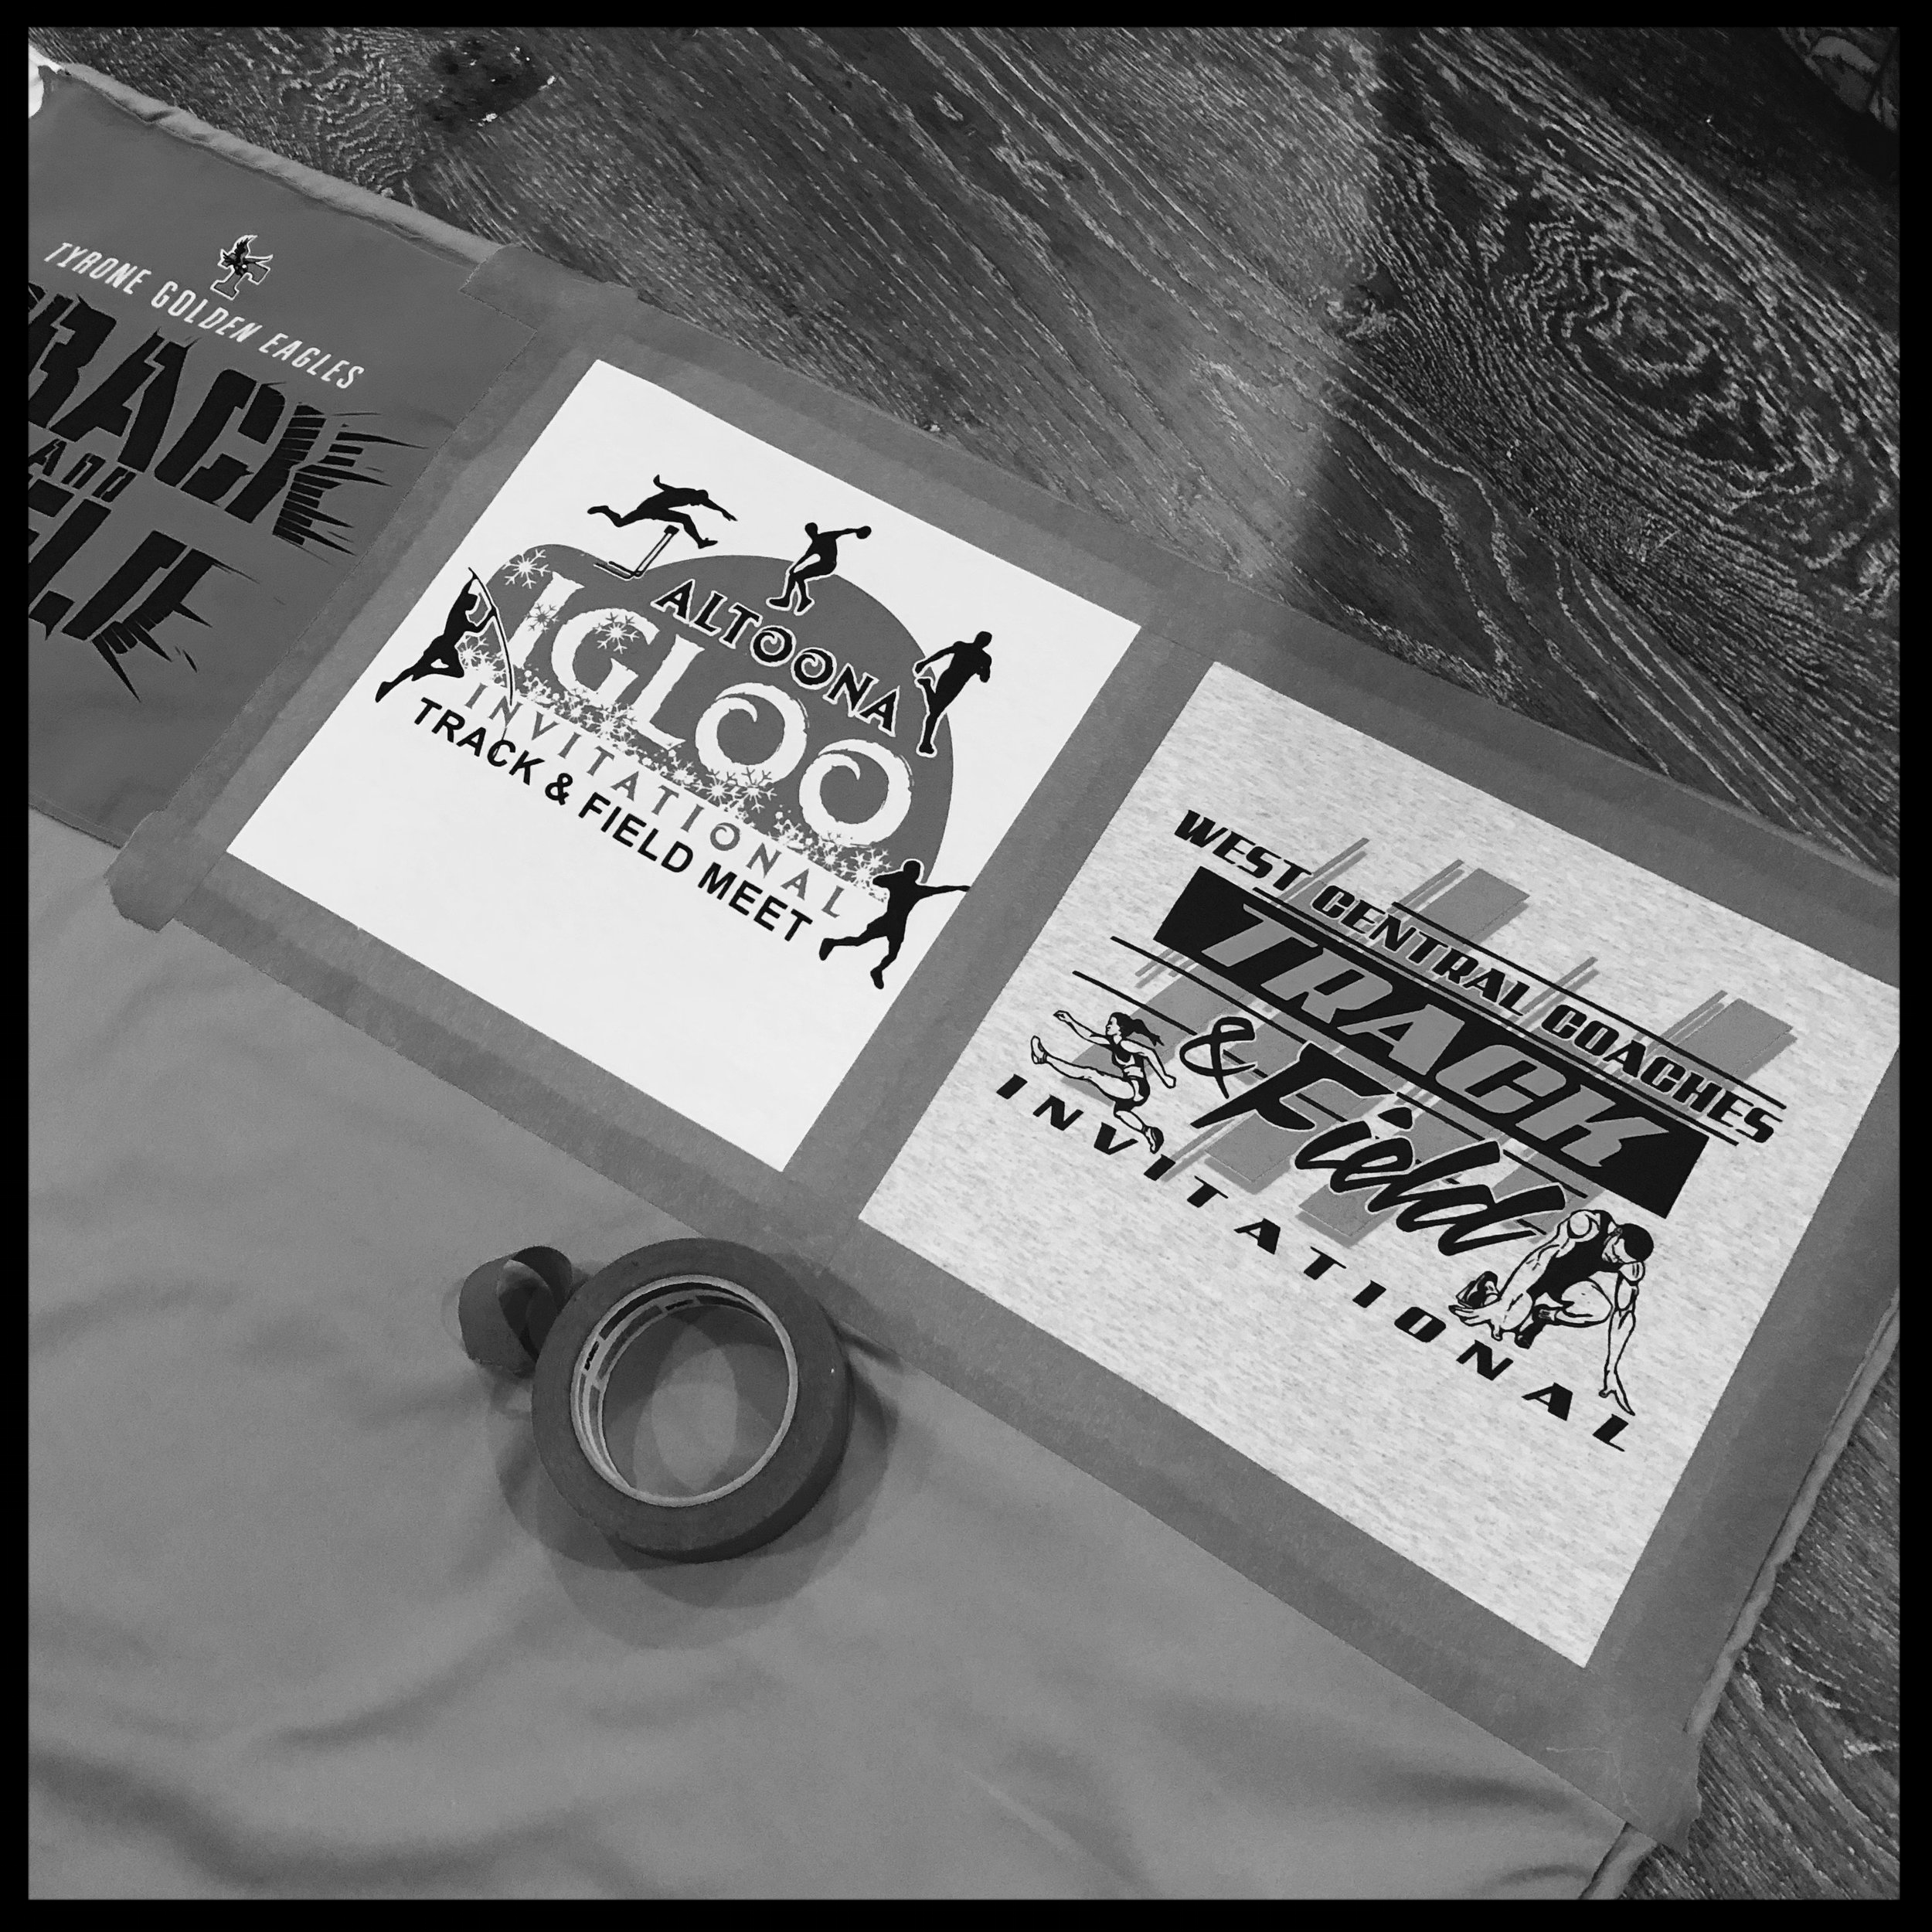
Step 1. Collect special occasion, travel, sports, prom, etc. tees. I used 70 t-shirts on the twin duvet (35 each side) and 15 on the pillowcase. I had about 15 too many and had to weed out the least favorite.

Step 2. Make a cardboard template to make it easy to cut out all of the shirts. You want every square to be the same size so they line up perfectly. If you want the finished square to be 12”, you have to leave extra around the edge for the seam.

Step 3. Cut out the interfacing also using the template. You will need one square of interfacing for each t-shirt.

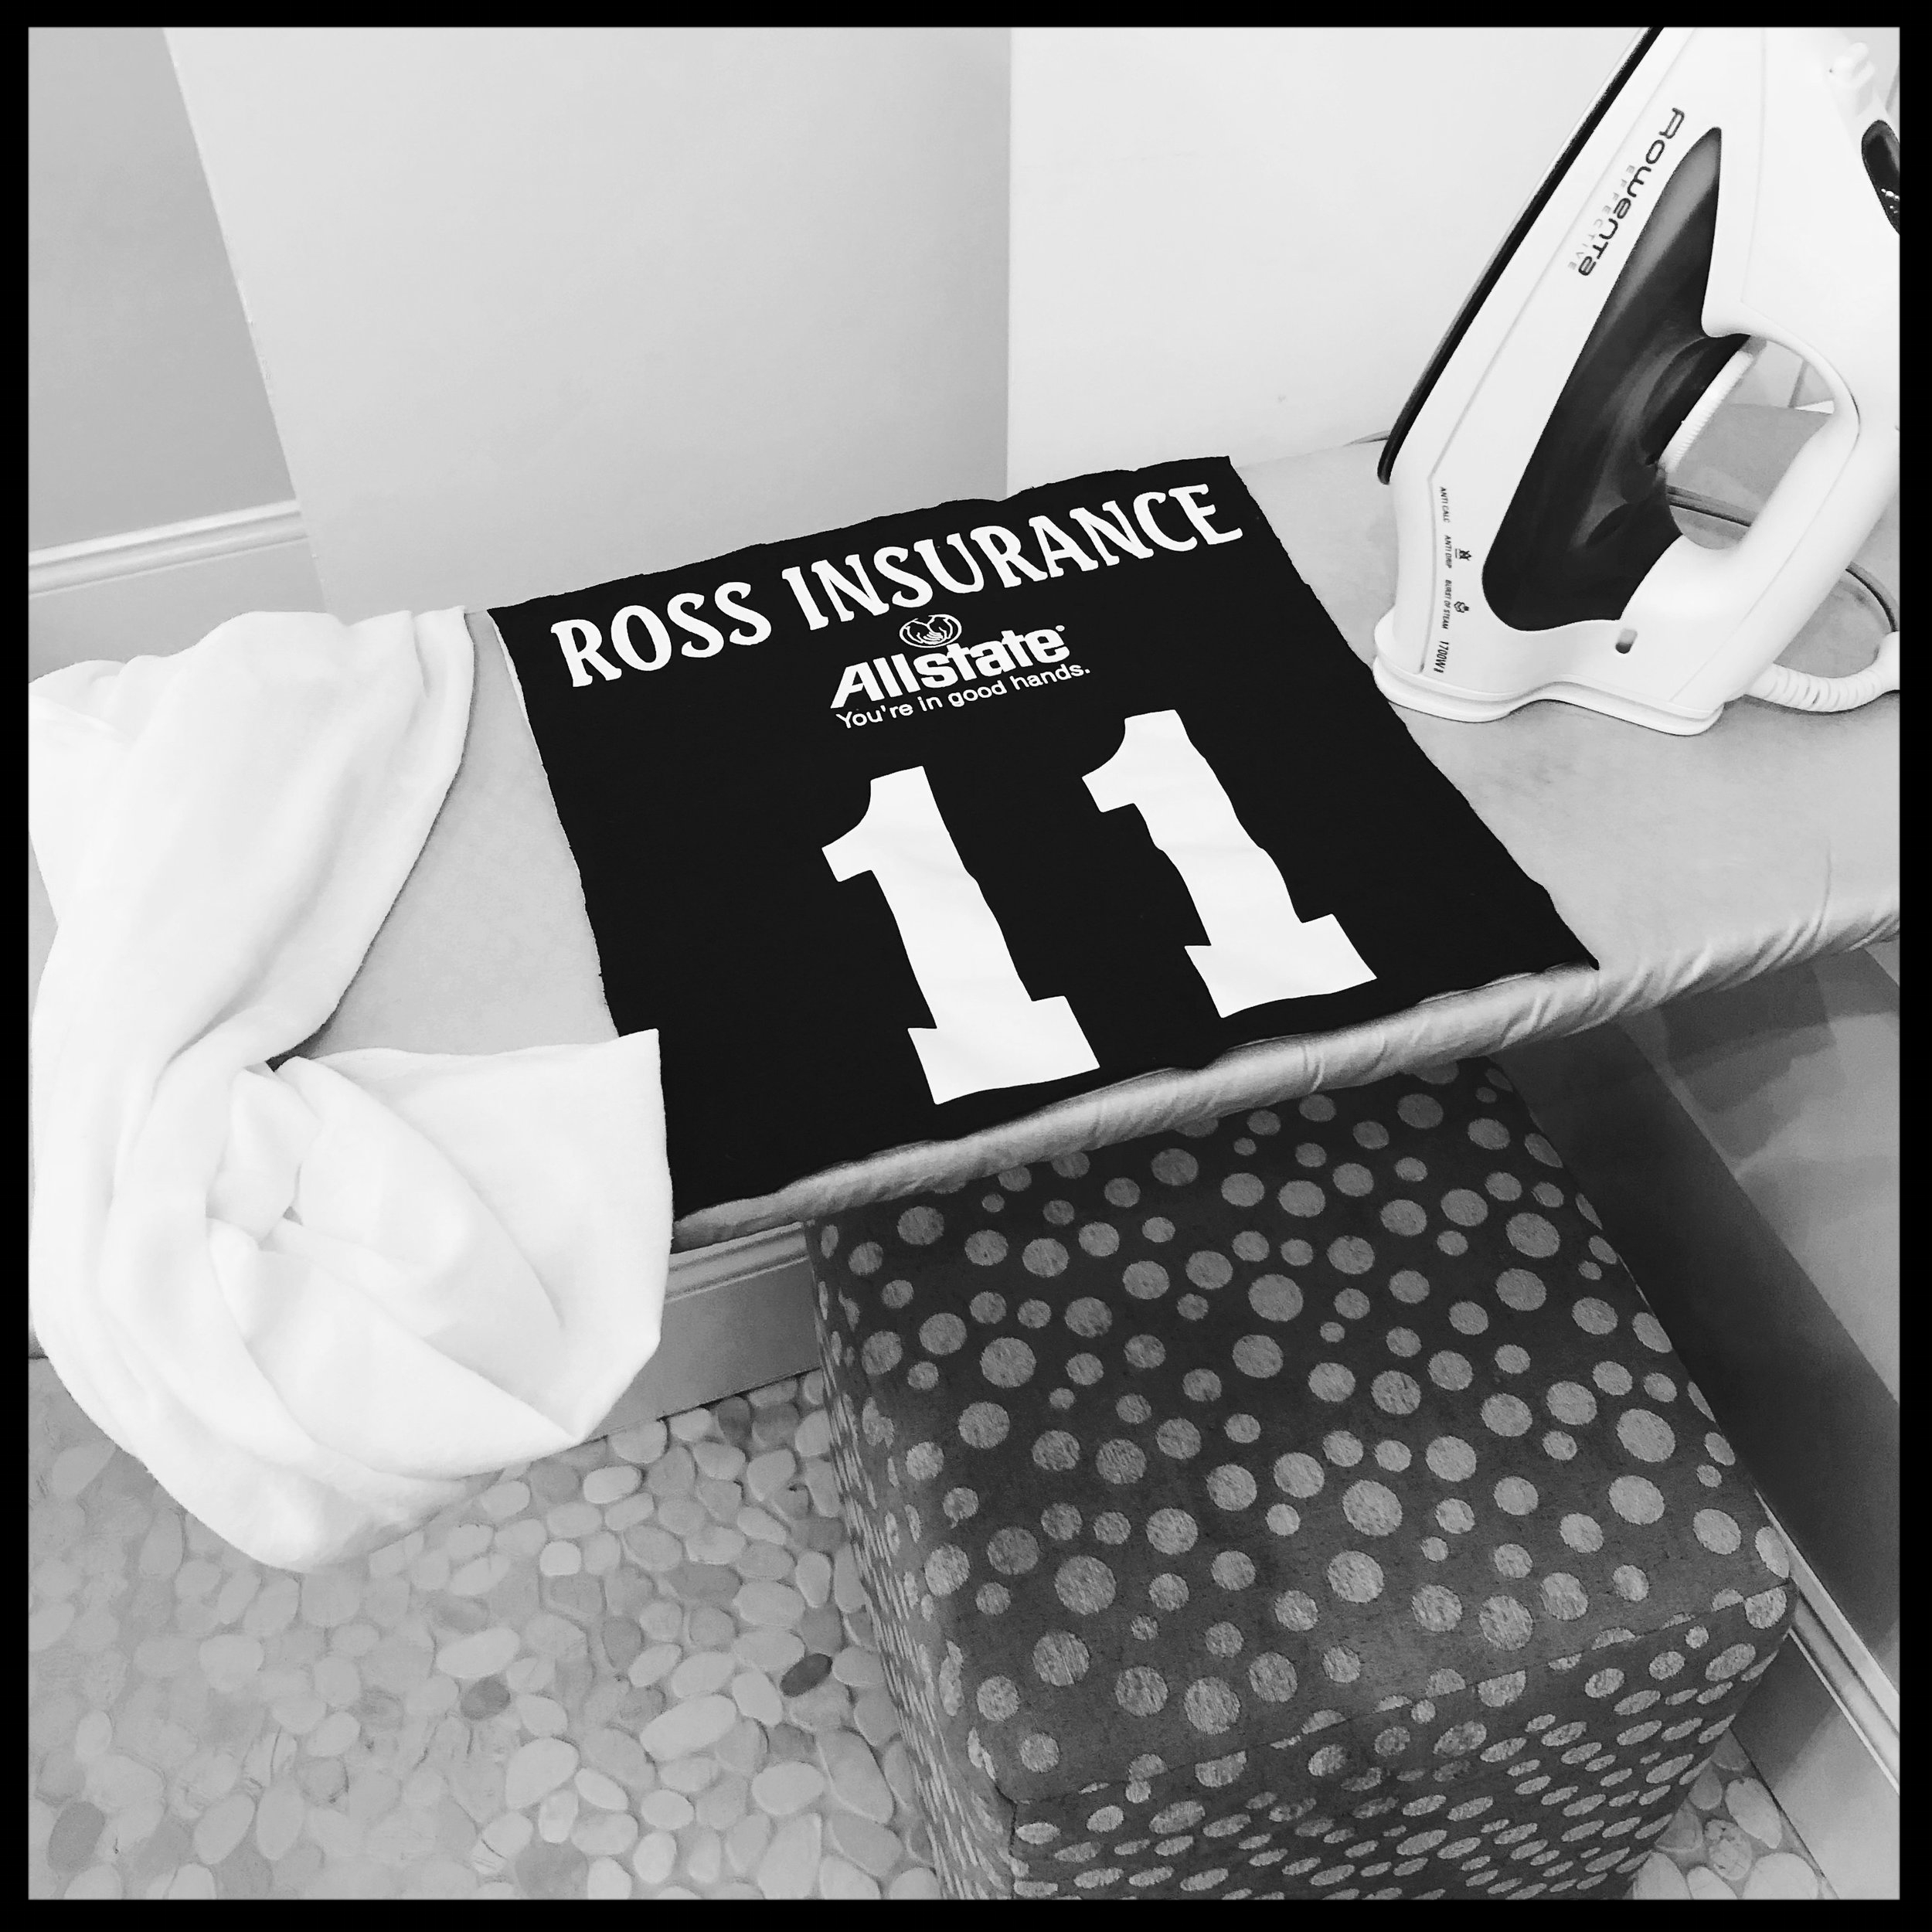
Step 4. Turn on some good tunes and iron the interfacing onto the backs of all the t-shirt squares. This takes a while. The instructions for doing this are on the interfacing.
Step 5: Figure out the layout. Find a large floor space and lay the sheet out flat. I used a 5 x 7 layout. (35 t-shirts) for each side. You will be sewing the edges of the sheet together to make the duvet at the end, so be sure to leave ample material at the edges to allow for that.

Step 6: Once you have the spacing just right, tape the squares down on all sides of just the top row. (or pins if you prefer). Remove all of the other rows. Carefully stack them off to the side in proper order so you don’t get them mixed up again. It’s best to just work on one row at a time to make it more manageable. Once you have the first row done, remove the tape. Don’t worry if you don’t get it all off at the seam because the seam will get covered up with the ribbon.
You can use low-residue tape or pins.

Find a place to keep everything organized and where it won’t be disturbed by others. I stacked my squares by row so that they '“read” left to right. I also kept them separated by side. Just use a method that works for you.
Step 7: Sew each square around the edge (this will get covered up with ribbon later). Sew across the entire row then do all of the vertical seams.

Step 8: Add the next row and repeat, making sure that each row lines up exactly with the row above. This will be important when you go to put the ribbon on.

Adding the second row. Notice that some of my squares are made up of two t-shirts. I also saved small logo tees for the pillow.
Step 9: Do the same for the other sheet (for the other side of the duvet).
Step 10: Lay the finished sheet out flat on the floor and measure out the black ribbon. Allow extra so that you can turn the ends under. I cut long pieces that will cover the entire length and width of the quilt. I sewed the vertical pieces on first, then the horizontal pieces last. Do this on both sheets.

Step 11: Once both sides are done, put them face-to-face and sew three edges together to allow an opening for the feather insert. I like to sew ties into the inside corners to tie the feather insert to so it doesn’t shift inside the duvet. Turn the duvet right side out and sew on the buttons or the zipper on the opening side. (It is also possible to just buy a duvet cover that is already made, it’s just more difficult to maneuver when sewing).

Grayson’s finished quilt- elementary years.
Step 12: Place the feather insert inside and fasten closed. (zipper or buttons)
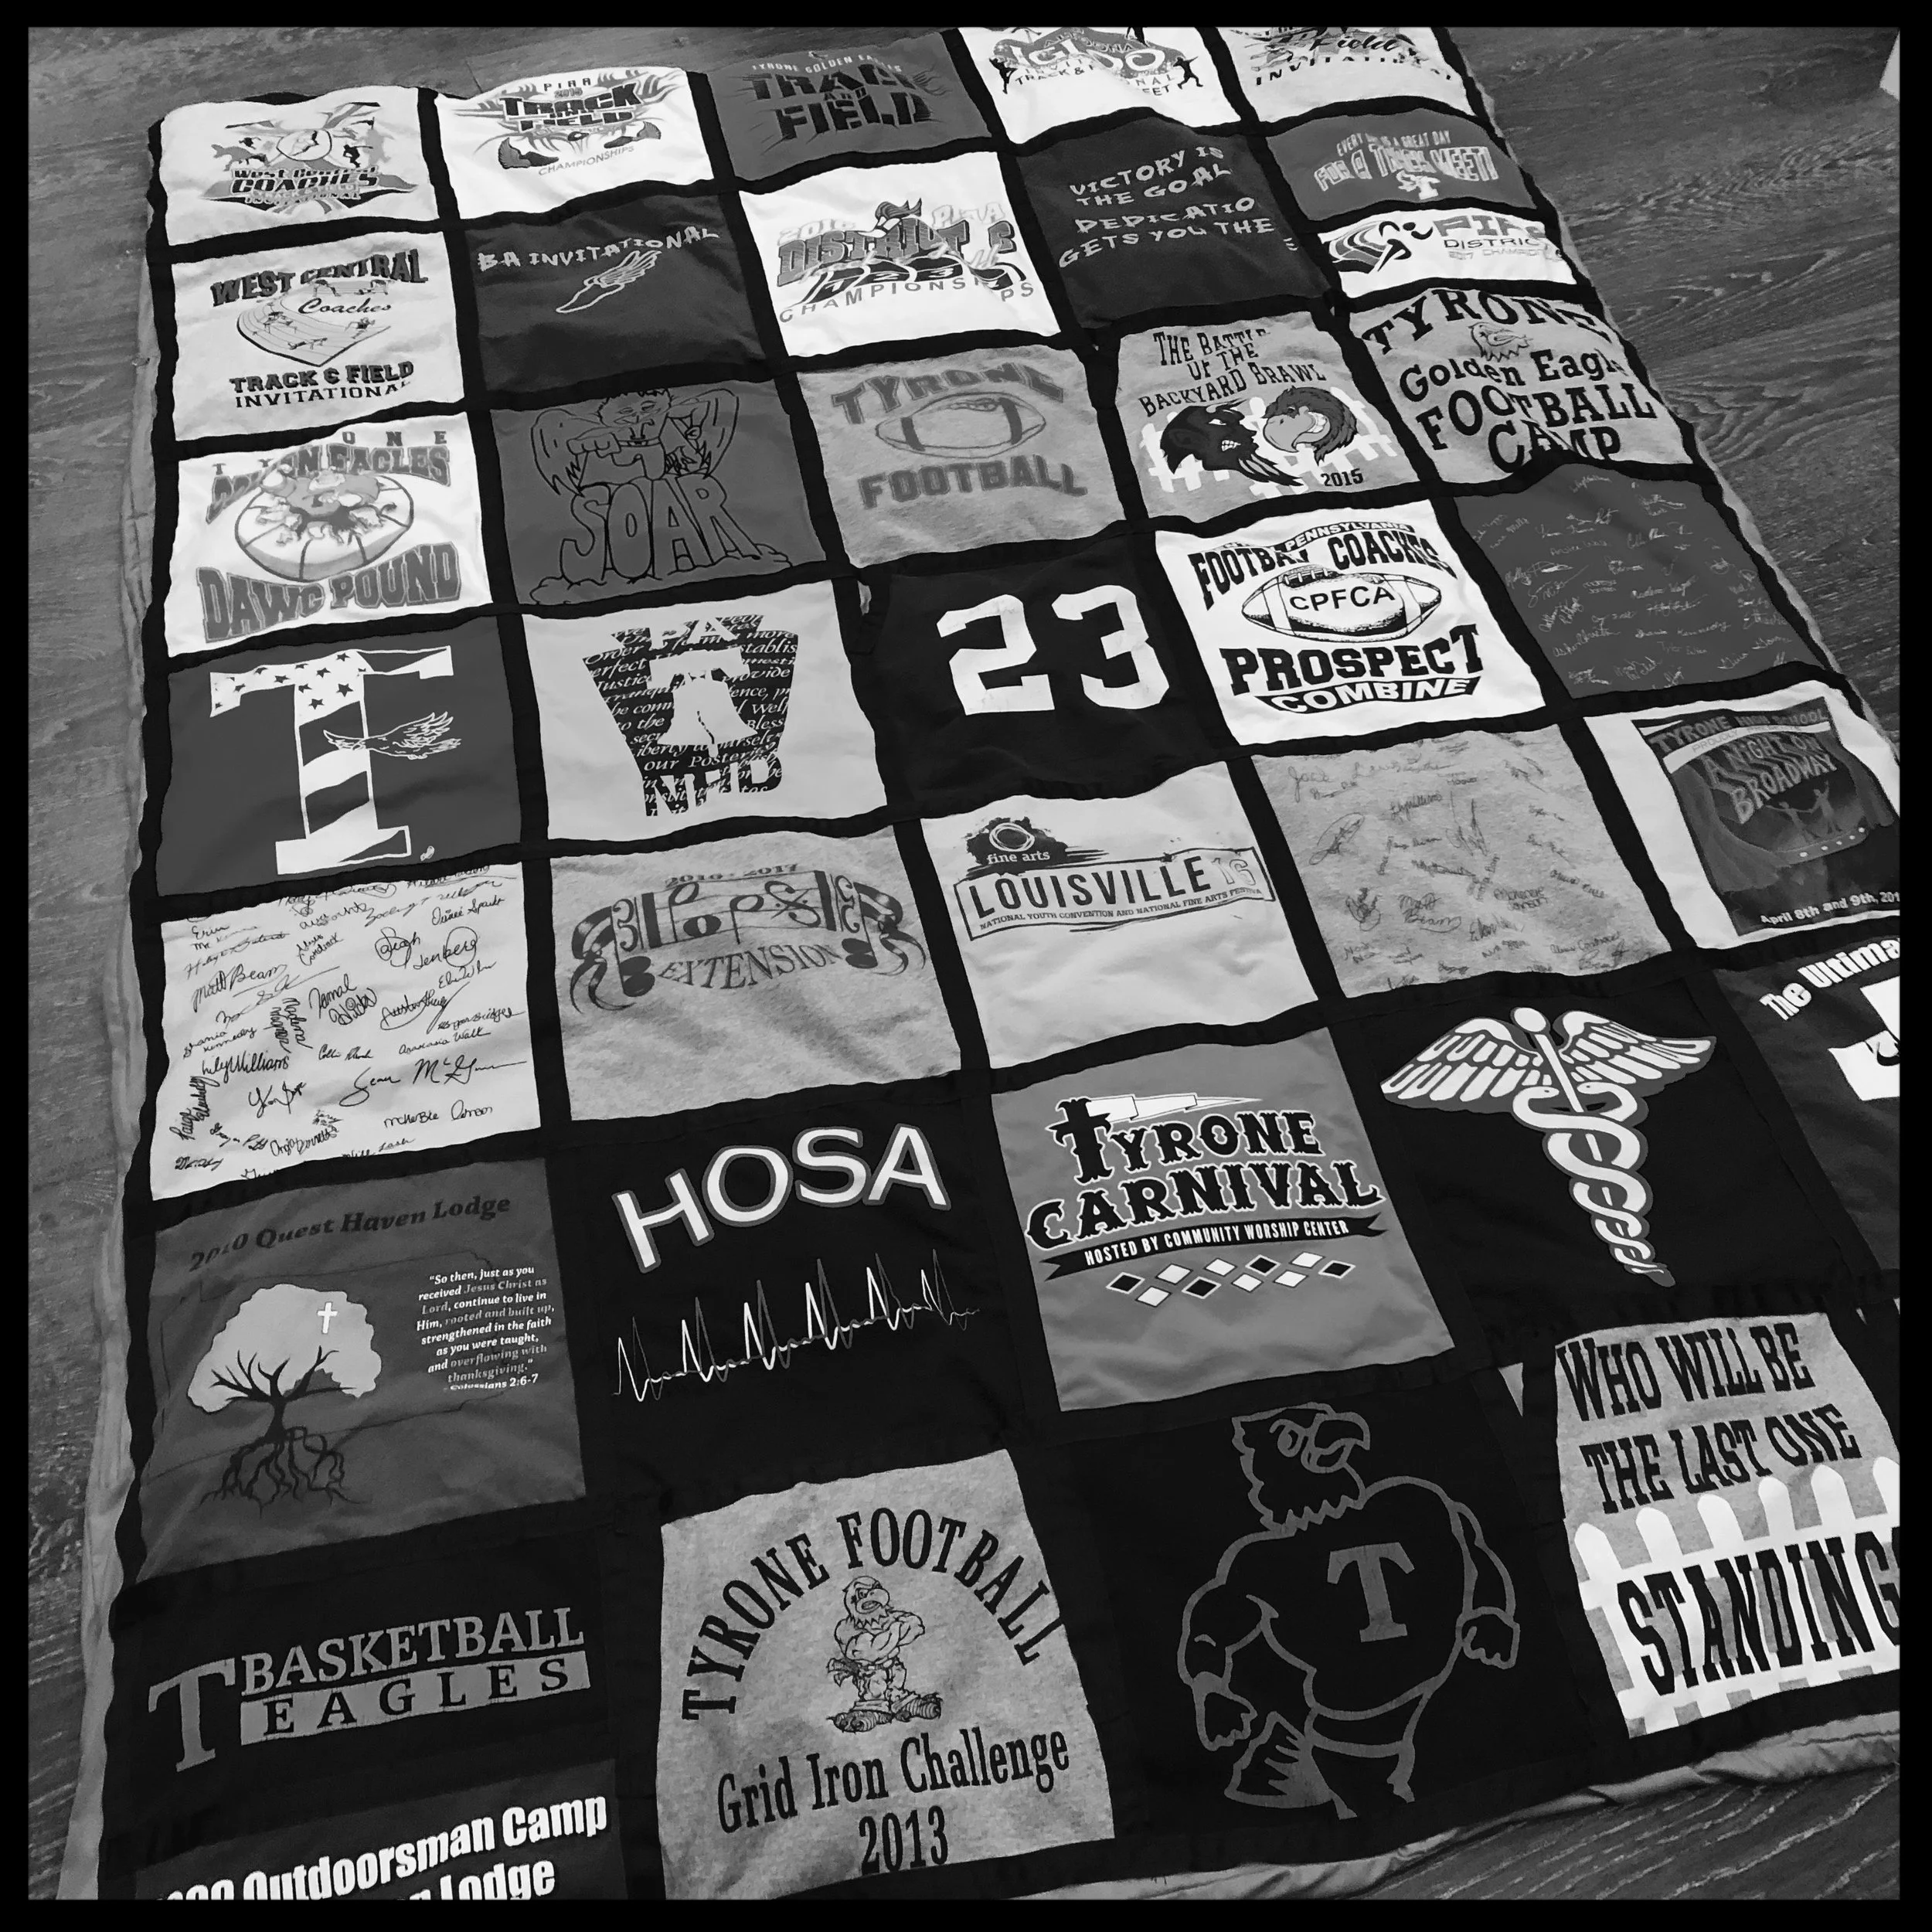
Grayson’s finished quilt- high school side.
Step 13: (Optional) Pillowcase. No rules here. Have fun with this!
